2020 – Animated Short – 3D Lead – Character shader, FX, lighting and rendering
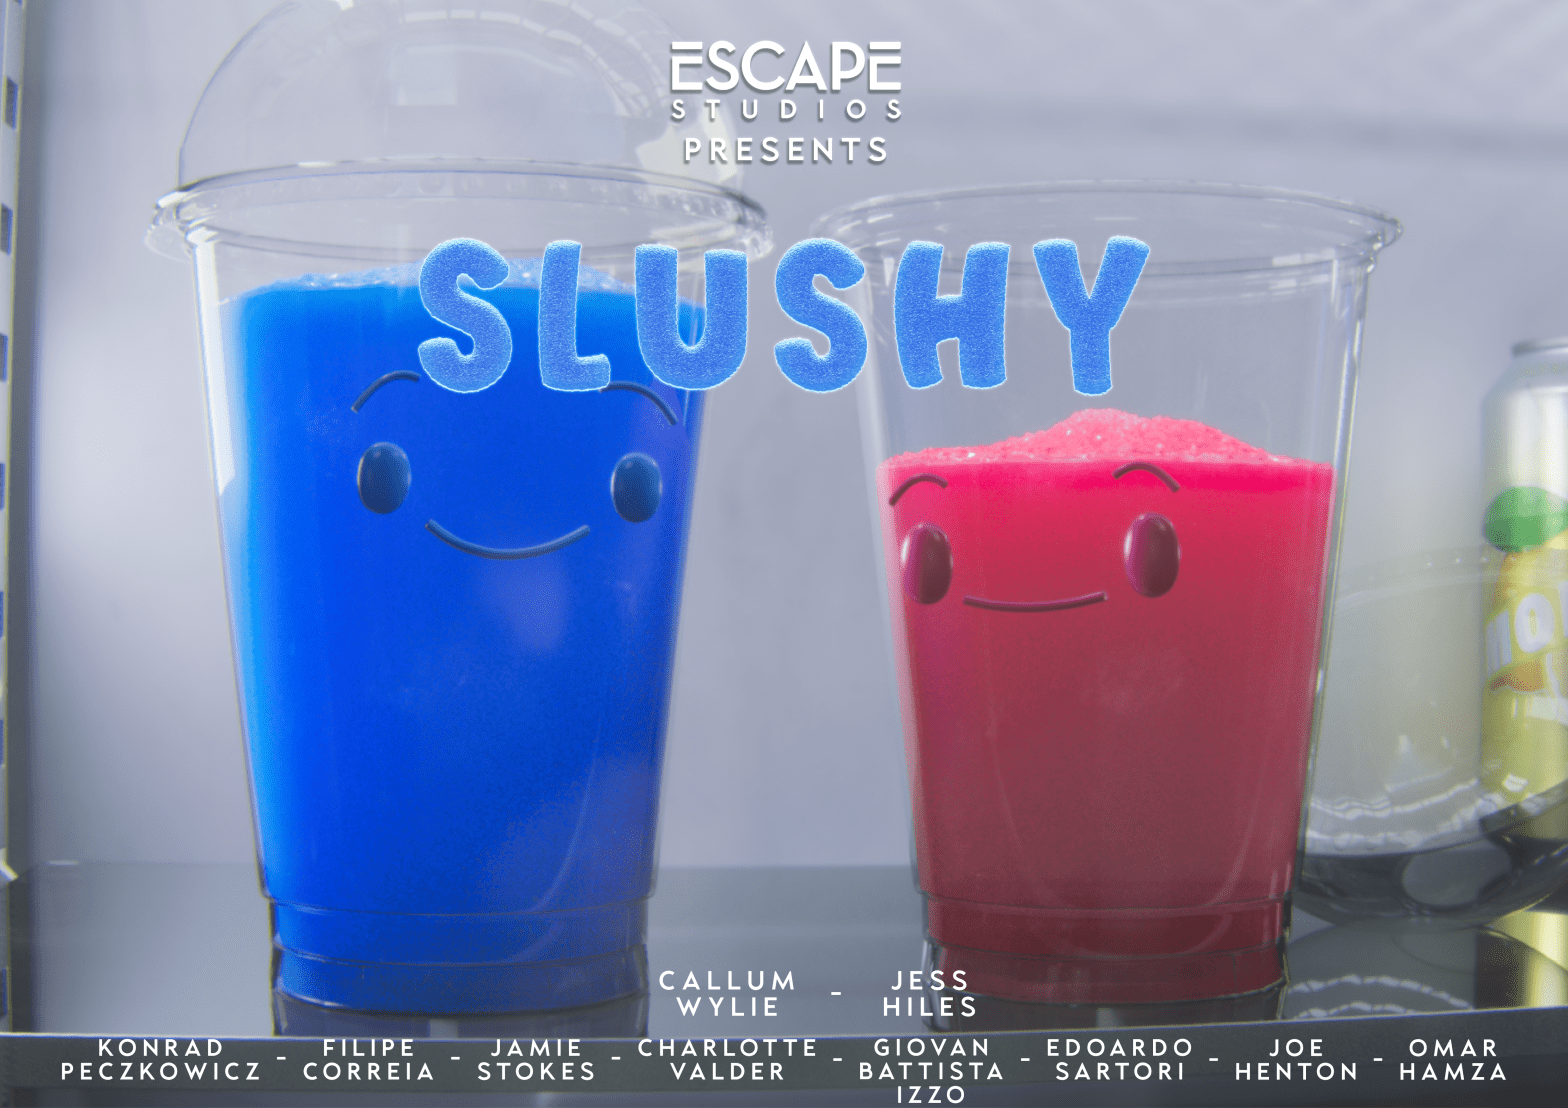
Slushy is an animated short film worked on by a joint team of animators and VFX artists at Escape Studios over about three months. As 3D lead I was responsible for overseeing and managing the whole 3D pipeline, which involved close collaboration with the animation and 2D departments to ensure the smooth sharing of scenes and assets, as well as managing a team of 3D artists. I was personally responsible for the character fluid FX, character shaders, lighting and rendering, along with the creation of some assets, and the matchmoving for all shots.

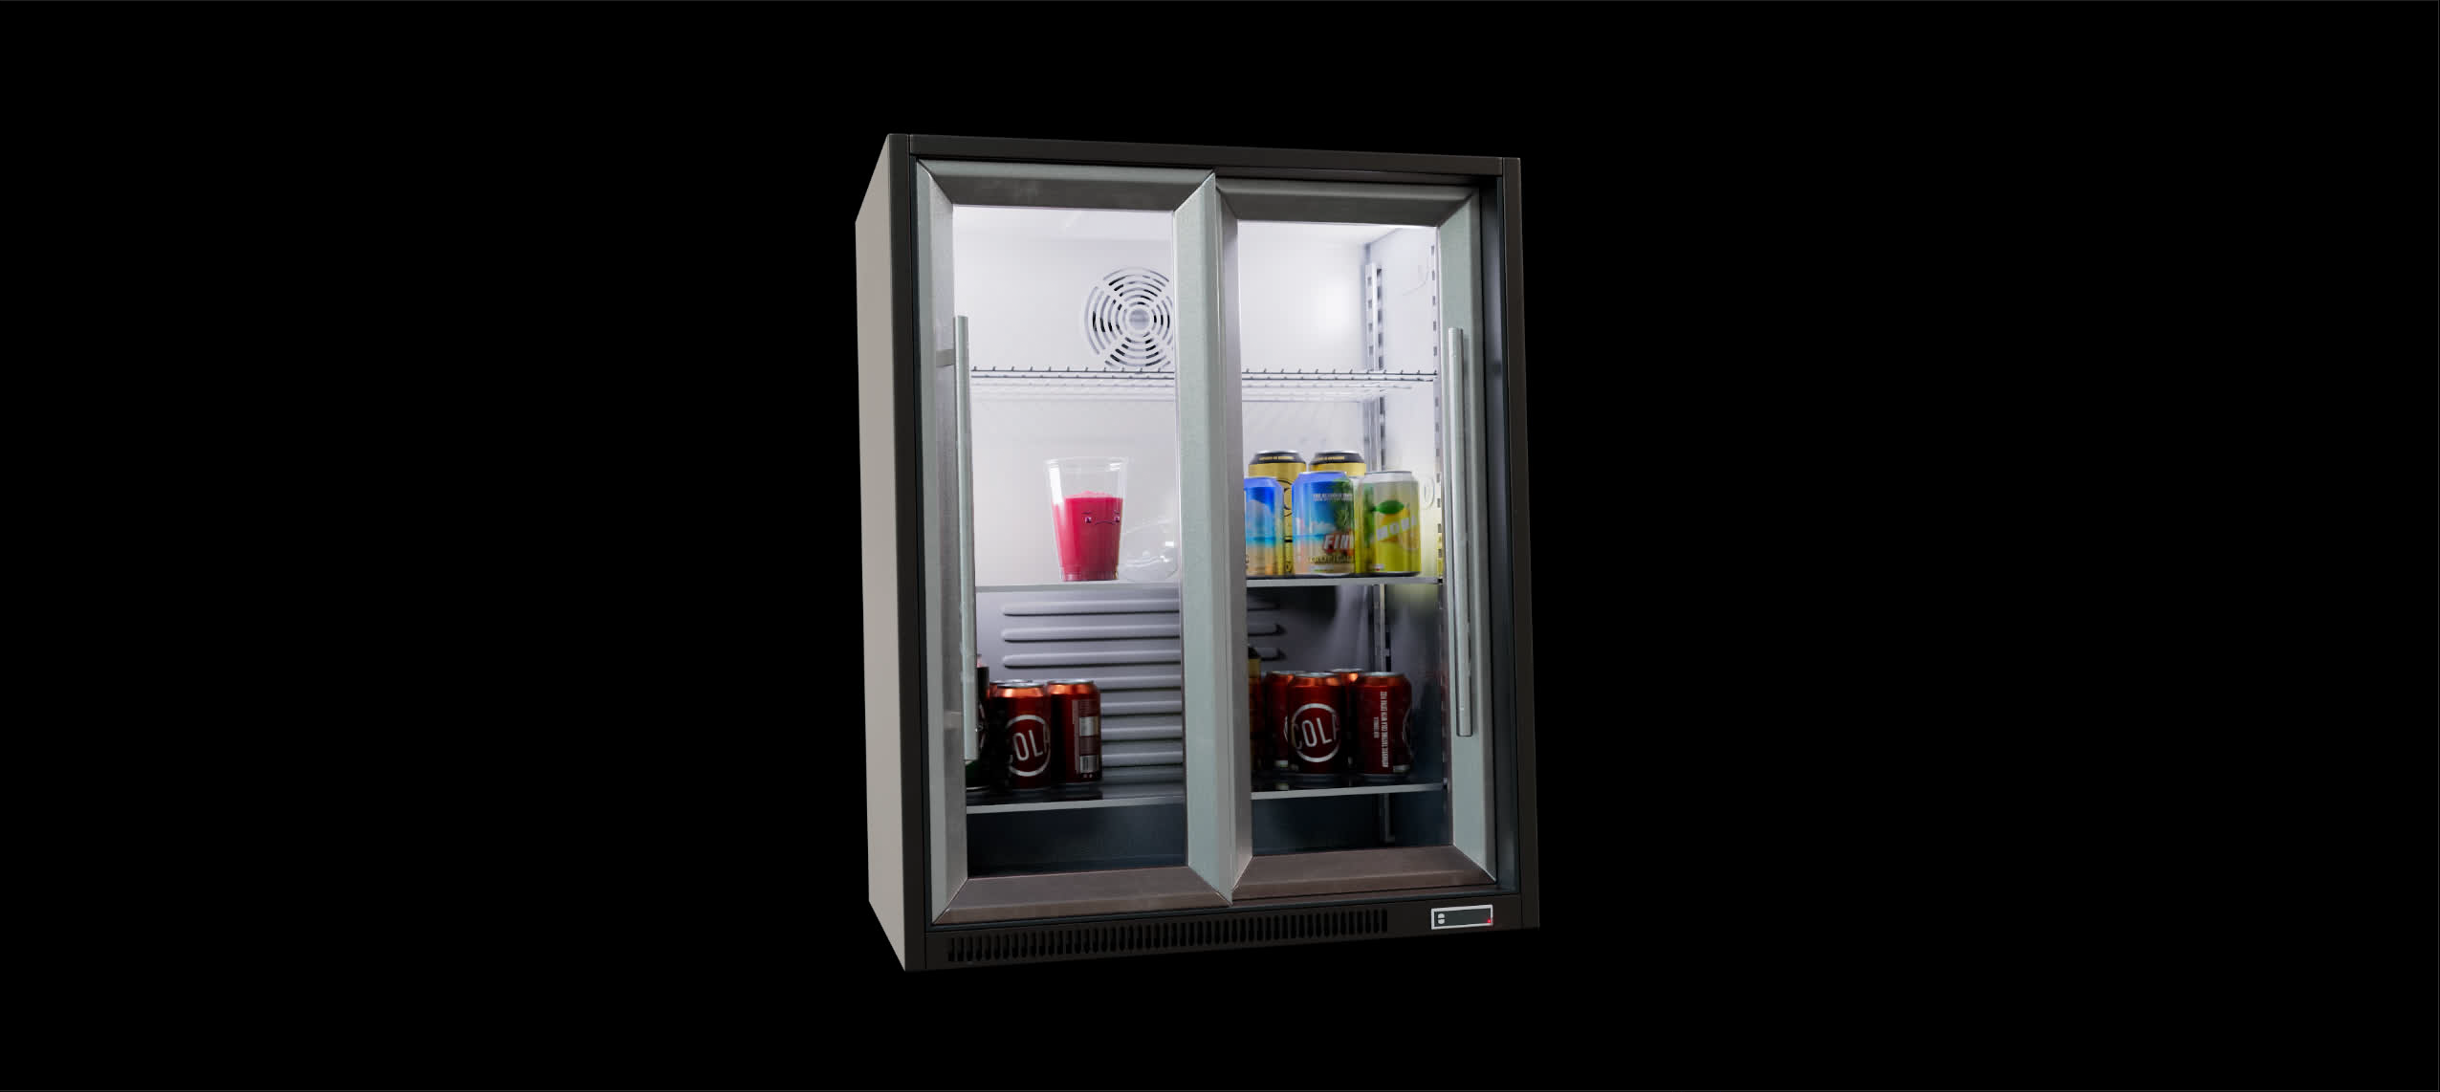
The overall VFX challenge was to create a stylised yet believable ‘slushy’ character, which had to exist in multiple states, both in a cup, a lid and free standing. We also had to find solutions for the character transitioning between these states in a controllable way. Alongside this we were tasked with creating a number of additional assets, the most complex of which being a fully CG fridge which would replace some cupboards and be interacted with by both live action and CG characters.


A significant challenge was the lighting and rendering of a translucent character inside a transparent cup, sometimes seen through a pane of glass. This wide range of scenarios required careful planning and close collaboration with the 2D department, to allow for render and rebuild setups to be created and replicated across shots that were easy for artists to pick up, and retained as much control for tweaks in comp. This was achieved by creating multiple renders of the characters with different transmission and aov settings per render, which gave different results in the transmission pass to capture as much information as possible to create the full CG rebuild.
To capture proper transmission and refraction, we projected the original footage onto the scene lineup geometry. This was then set up to only be visible in the transmission pass, where it would be seen through the transparent cup. With this set up, we were also able to create some new shots by rotating and changing the focal length on a new camera while projecting the footage from the original camera. The ability to re-use shots with new focal lengths and framing allowed us flexibility in the edit and let us extract the most from the limited footage we had.

The transitions to and from the cup were achieved with Flip fluid simulations created using Houdini, with a suction target used to control the shape and transition of the simulation, post sim tweaks to ensure proper alignment to the surface of the cup and custom masks being generated to control shaders in Maya, mostly masking the displacement on the fluid. A similar masking method was used to drive a specific shader for when the two characters mix colours at the end of the film.
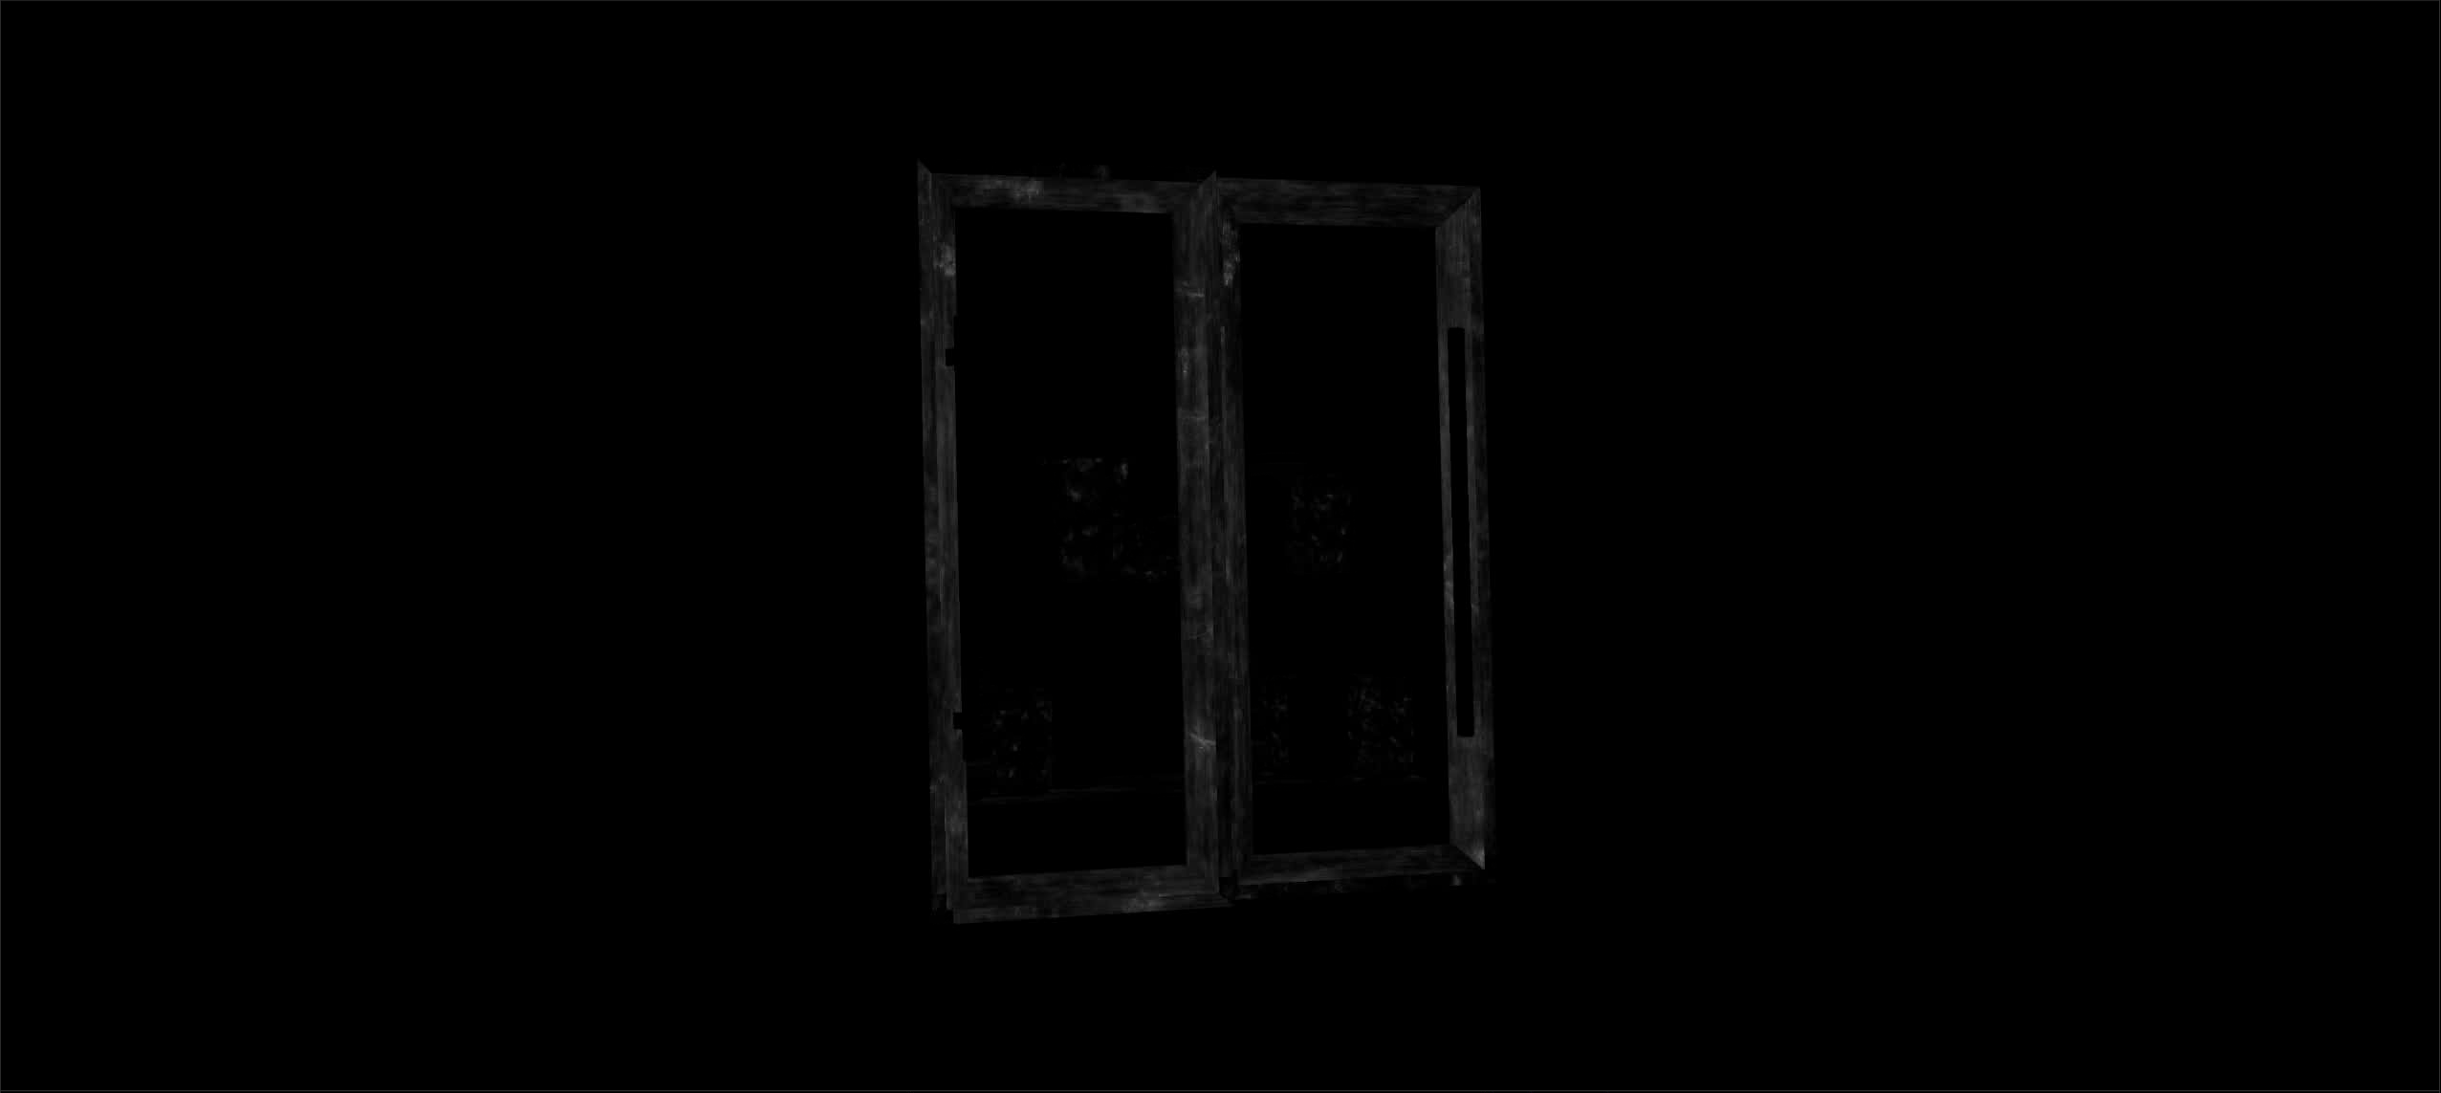
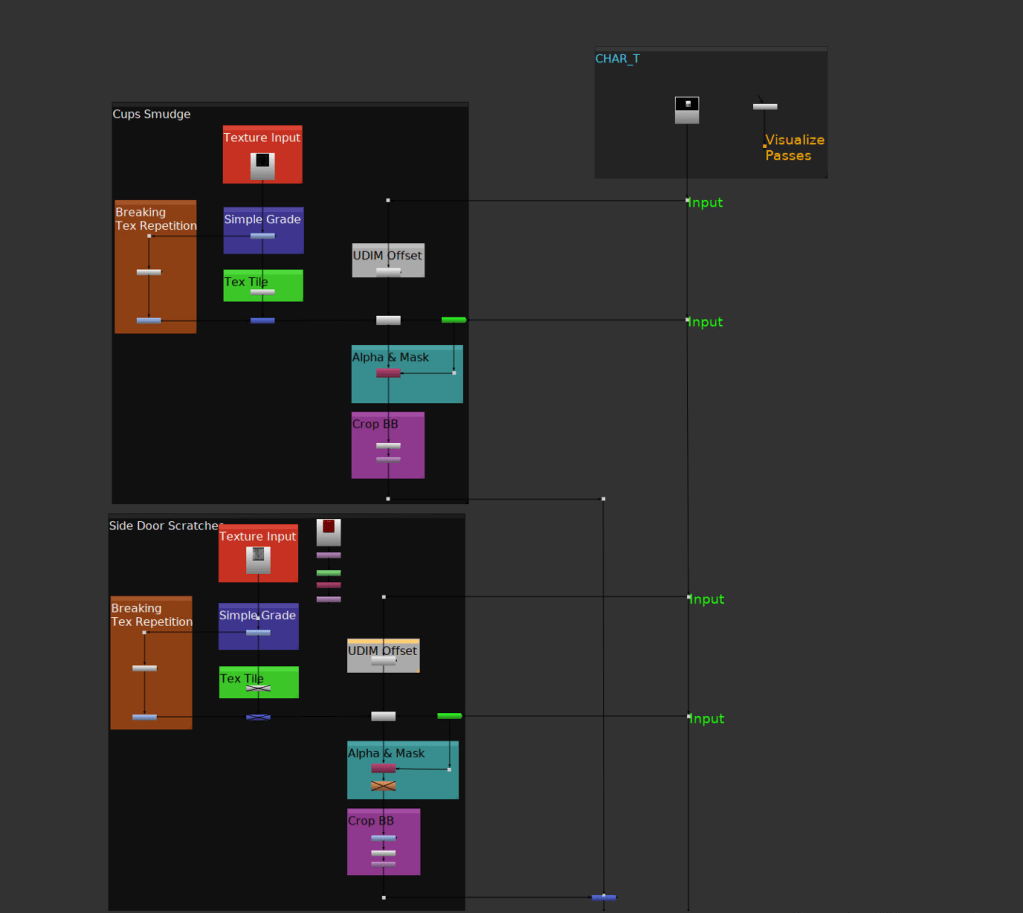
I also worked to develop a setup which allowed for the addition of grunge details and imperfections to be added to our CG objects and characters post render in Nuke. This used the UV render pass, cryptomattes and the STmap node to apply a combination of grunge textures and noise maps to any part of the CG assets, with the setup being explained to every 2D artist to apply to their shots.